Upload (large) Data Pump files to OCI
How to upload files to Object Storage buckets in OCI using the Command Line Interface
Austine Ouma
1/28/20253 min read


How to upload (large) local files to OCI Object Storage
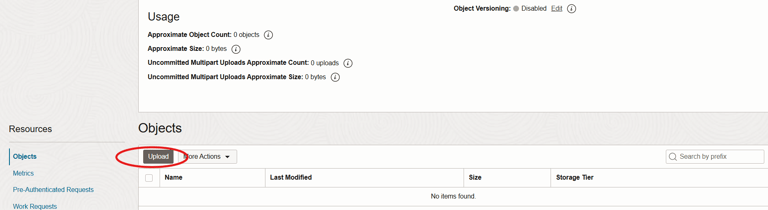
You may have files on your local environment or machine that you want to upload to OCI's object storage. In this example, we assume you've taken an export dump of a source database on-premise and you now wish to move those files to OCI. The target database could either be an Autonomous Database or a Base DB service. What you need in a manual offline migration, is to have those export dump files in a bucket on OCI ready to be imported into your target. If the dump files are quite small, you could use the Upload button on the OCI console to load these files as show below;
In the 'bucket details' on the Object Storage Console, you can click on the 'Upload' button
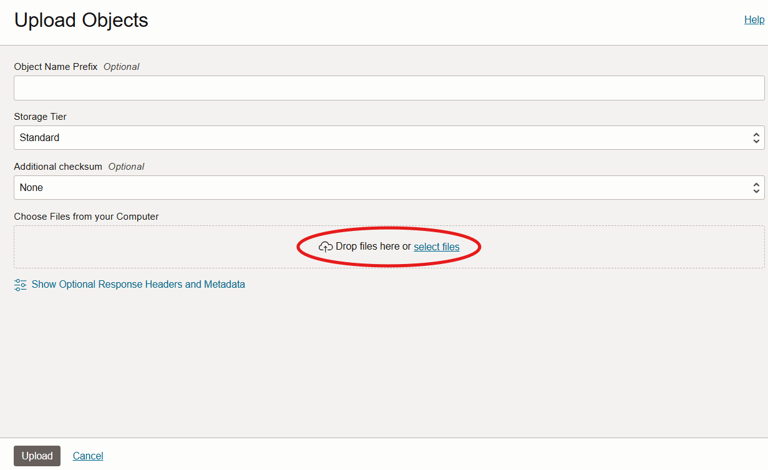
The Upload Objects dialog box gives you the option to either drag and drop files or select them from your local machine.
This option works fine for small files of about 2GB in size. Anything above 5GB is considered a large file. I'm sure most dump files out there will be larger than this, so how best to move those files to Object Storage? Well, this is where the Oracle Cloud Infrastructure Command Line Interface (OCI CLI) comes in. In this guide, we have a dump file '/u01/largedump.dmp' on my local linux machine which I'm going to upload on to an Oracle Storage Bucket called 'Test_BKT'.
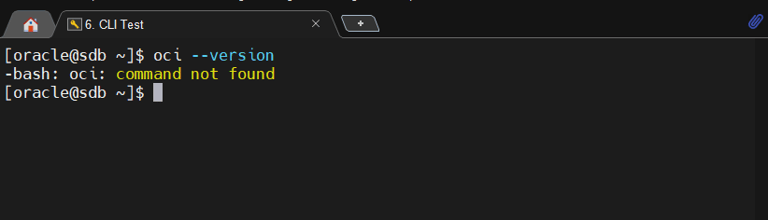
Install CLI on your local machine. You can use this guide for your appropriate OS. Here I'm using a Linux 8 terminal, if you are on say Windows, please use the appropriate instructions from the guide. This shows I don't have CLI installed yet.
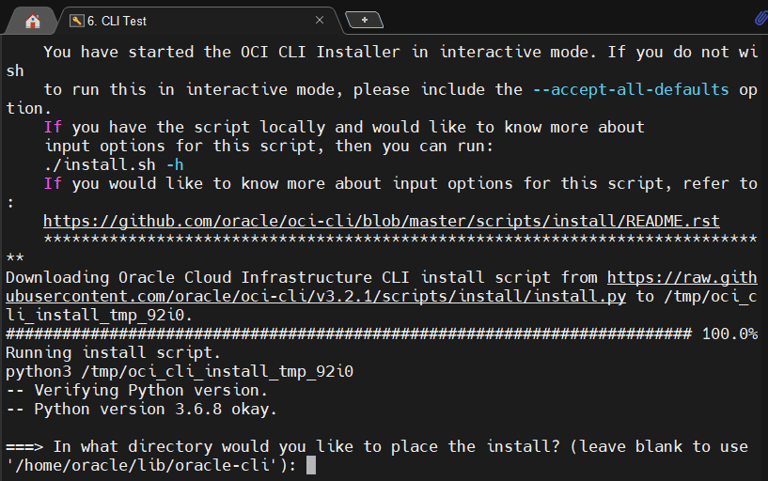
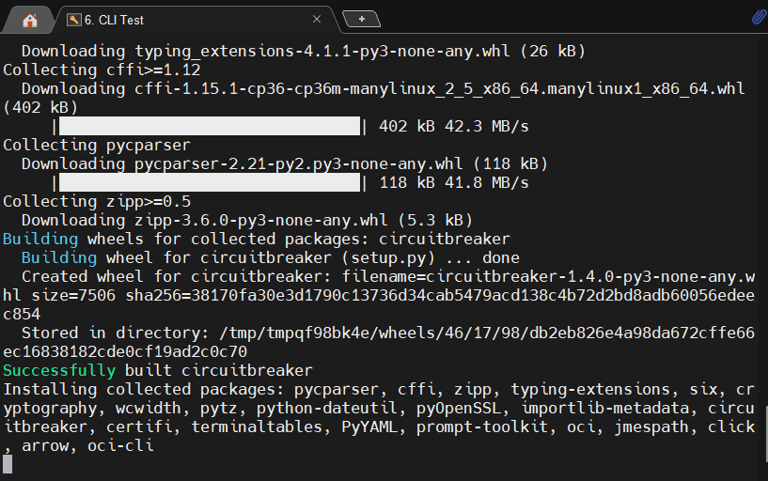
Install CLI. Accept the defaults of change appropriately.
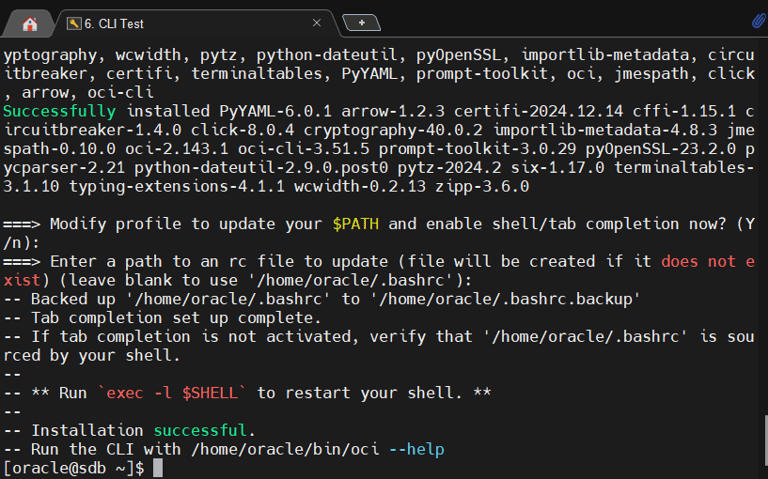
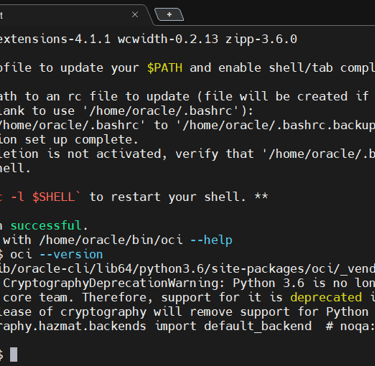
CLI Installed Successfully
CLI is now installed
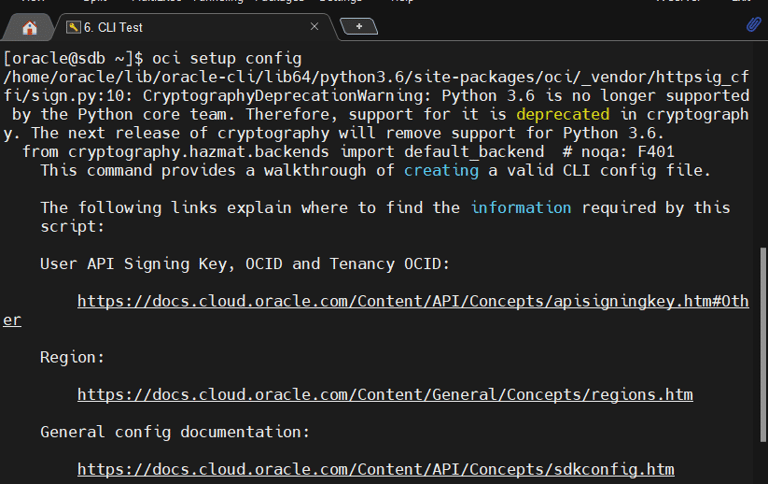
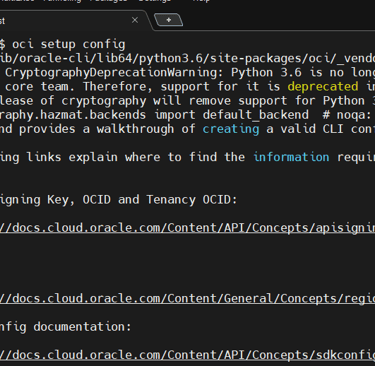
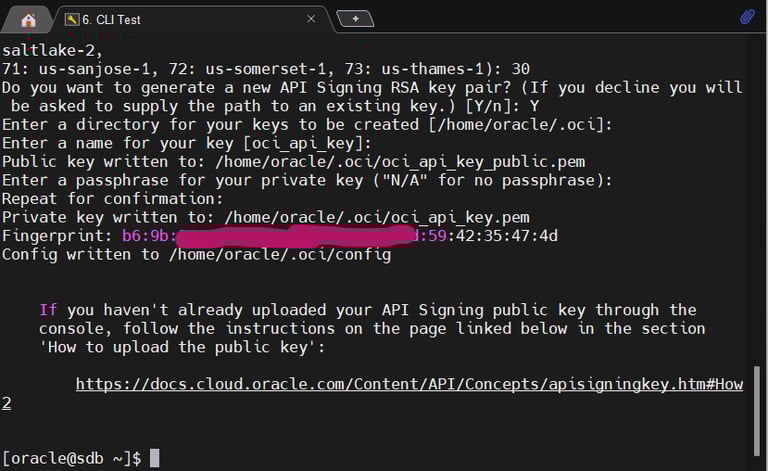
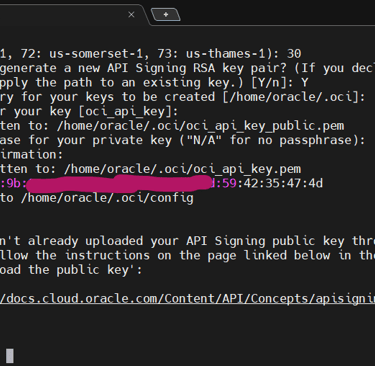
Next, we'll now set up the CLI configuration file that contains the required credentials for working with Oracle Cloud Infrastructure. You can have CLI guide you through this process by executing 'oci setup config' in a terminal. Follow the instructions and have your user and tenancy OCIDs with you.
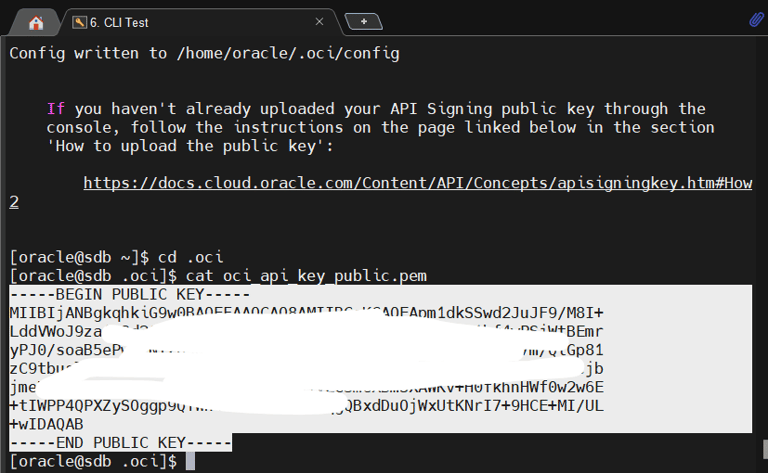
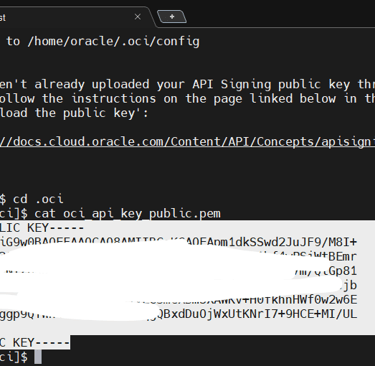
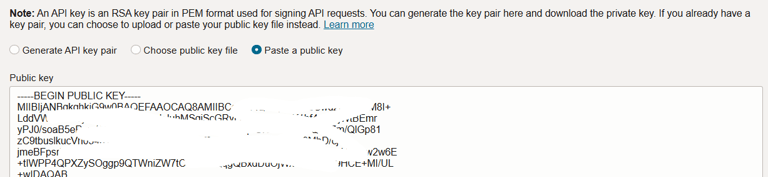
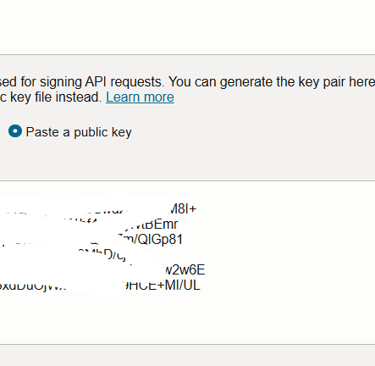
Upload the API signing public key on the OCI Console. Copy the contents of the public key
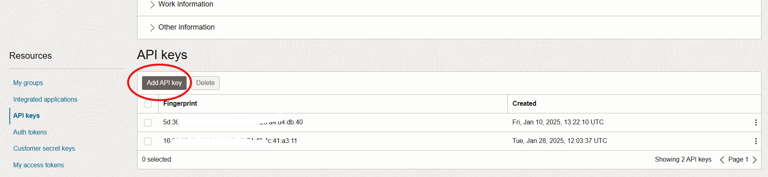
On the User profile in the Console, select 'API Keys' under resources and click the 'Add API Key'
Past the public key contents
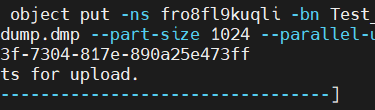
Upload the dump file using the CLI commands;
ns: object storage namespace
bn: bucket name
file: path to the file to be uploaded
name: to give the uploaded file a different name on object storage
part size: part sizes (MB) when uploading in multipart upload mode
parallel upload count: max number of parts uploaded in parallel
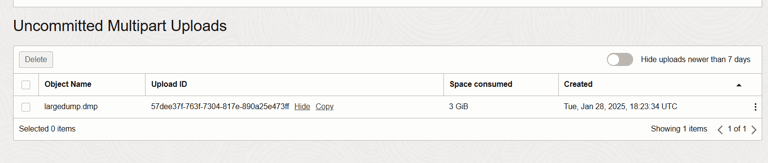
On the console, under resources, when you click on the 'Uncommited Multipart Uploads', you see the same information as on the terminal above (Upload ID)
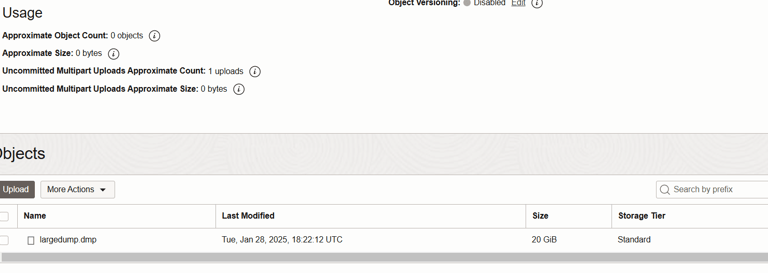
When 'Uploading Object' on the terminal gets to 100%, on the console,, you can see the full-sized file.